

How To Install A Wrought Iron Gate
Before INSTALLATION, REMEMBER TO…
- Bank check local fence codes.
- Have utilities marked
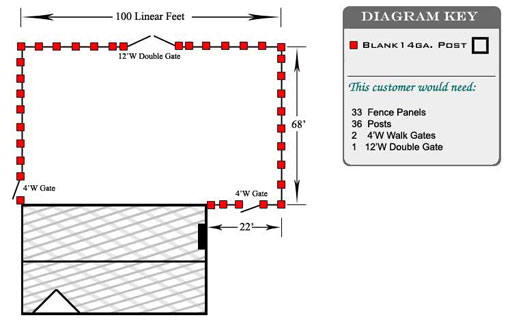
- Measure and plan expanse.
- Clear argue path of obstructions
- Reserve your tool rental if needed.
- Buy Quickrete and have delivered.
- Unpack textile and take inventory.
TOOLS & MATERIALS YOU WILL NEED…
- Mail hole digger
- Shovel
- Level
- Hack saw
- Tape measure
- Electric screwdriver
- Hammer
- String line
- Wheelbarrow
- Quickrete
- Ground stakes
- Gravel
Footstep ane. Stake cord lines for each run
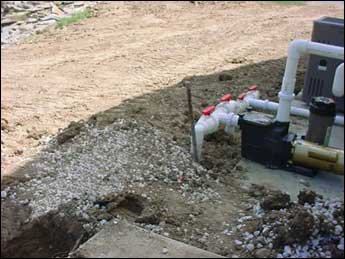
Determine corner and finish mail service locations. Drive stakes into the ground a few anxiety beyond that point so the cord lines can cantankerous making a xc° angle.
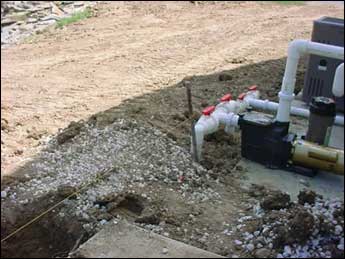
Run a tight string line betwixt stakes to mark the fence line. The stakes should be tall enough so the string does not touch the basis.
Helpful Hint: Go ahead and mix your concrete in a wheelbarrow. Nosotros use Quickrete brand that already has the sand and gravel included; all you need to do is add water. It tin can be purchased at Home Depot or Lowes; yous volition need approximately one.v of the 40lb. bags per mail hole depending on the size that you dig and the size of posts ordered.. Mix it on the dry side and so your posts will stand up by themselves as it dries.
Step 2. Set up all of your posts in concrete
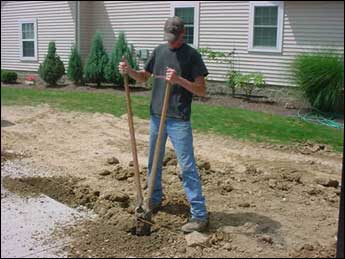
Dig holes at least half-dozen″ in bore and 2′ deep depending on size of posts. Scoop loose clay out of the hole and measure to check depth. If too shallow, keep excavation, if besides deep add some loose gravel. Ready postal service in hole and measure to assure proper depth.
Shovel your mixed concrete around post; fill to 4″ beneath ground level. Pack the excavated dirt tight effectually post, this will assistance go on your mail service from moving. Make sure the post is plumb against the string line and check for levelness.
HELPFUL HINT: Due to the weight of the wrought iron fence panels it is advised to expect a few days for the physical to dry before attaching the fence sections to the posts.
Stride 3. Attach fence panels to the posts
Slide your brackets over the end of the horizontal rail of the fence console. Concord console upwards between posts taking detect of the distance you want the fence off of the ground. Continue a hacksaw nearby in case you need to trim the panel downwards to fit between the posts.
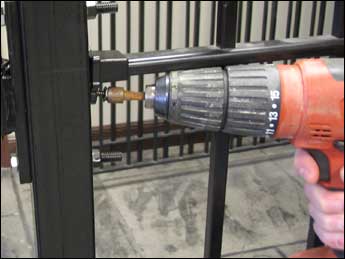
While the fence panel is being held in identify get your cordless drill with the appropriate chip and self borer screws provided. And so starting with the top brackets spiral them to the posts; side by side do the lesser brackets.
HELPFUL HINT: Check the argue run every couple of panels as you are installing it to ensure that the rails are matching upward. This will give you a dainty flow to the debate and make it look continuous.
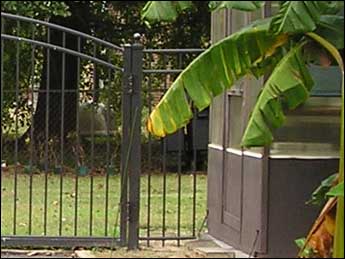
Step iv. Hang gates and attach gate latch
To decide gate opening betwixt gate posts, add the width of the gate to the post-obit hardware allowances: v″ J-Bolt Swivel = 3.5″ hardware allowance; 7″ J-Bolt = iv.v″ hardware allowance; Gravity Latch = 2.five″ hardware assart; Magna-Latch = .75″ hardware allowance.
It is advised to wait seven days before hanging your gates. If this is non possible and you have to hang the gates sooner, at least await vii days earlier the gate is used heavily.
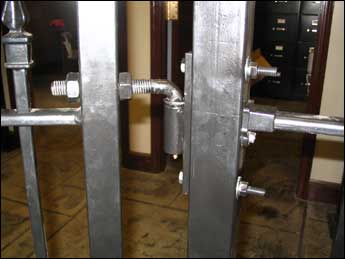
The standard hinge included with our wrought iron gates are J-Commodities Hinges. It comes with two parts; a male shaped like an "L" and a female welded to a plate. You can install like the picture above or flip it around and bolt the female to the gate frame.
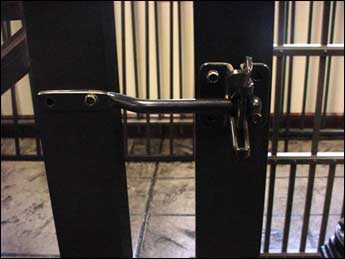
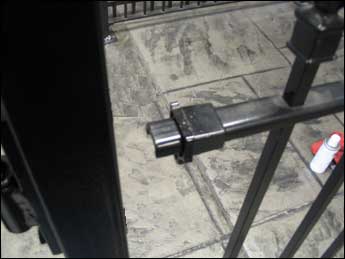
A gravity latch is included standard with our wrought iron gates. Very simple to install, but brand certain the bar is screwed to the gate frame and the catch piece to the gate mail service. A small padlock can exist added to the catch piece for added security.
How to handle "special situations"
Hillsides & Slopes
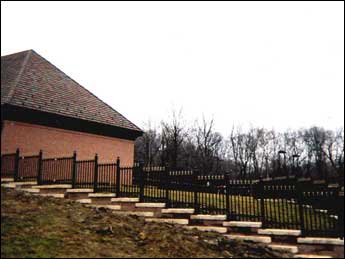
With wrought iron fencing there is but one way to handle hills and slopes; y'all have to pace the contend. Longer posts volition need to be ordered and you utilize the provided brackets to attach each panel at the bottom of the uphill mail service to accomplish each "step".
Cutting Sections
With most installations there will be an fence line that volition non fit a full department and it will need to be cut. This is a elementary job and tin can be accomplished with a hacksaw. A section tin always be trimmed down but cannot be easily extended to fit.
Attaching To A Wall
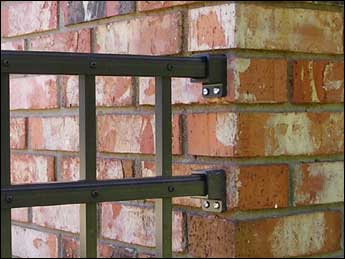
The above picture shows wall brackets fastened to the corner of a brick house. Wall brackets are very useful in this application and also when you lot want to attach to columns, woods, or blank posts.
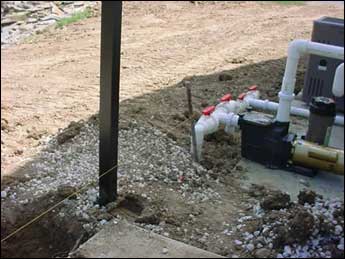
Installing On Concrete
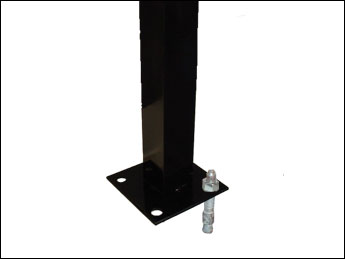
To install a fence on summit of a concrete pad you will need to either core drill or use concrete anchors in conjunction with a welded plate on your mail service. Core drilling gives you a cleaner finish but is more than difficult.
Acquire More nearly our Wrought Iron Fencing models.

Source: https://www.fence-depot.com/wrought-iron-fence-installation-manual/
Posted by: bergmanhison1971.blogspot.com
0 Response to "How To Install A Wrought Iron Gate"
Post a Comment